In this project, we will explore how to connect and communicate with an I2C (Inter-Integrated Circuit) LCD module using an Arduino Uno. I2C LCD modules are popular for displaying information from microcontrollers and sensors. They are cost-effective and simplify the process of displaying data on an LCD screen without requiring many digital pins for communication.
Components Required:
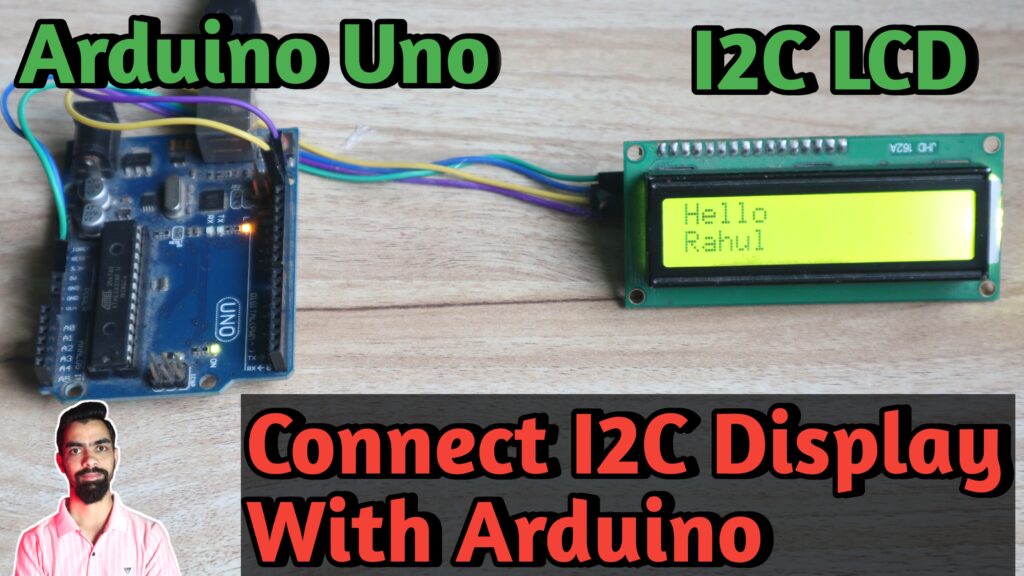
Arduino Uno
I2C LCD Module (usually a 16×2 or 20×4 character display)
Breadboard and Jumper Wires
Power source (USB cable for Arduino Uno)
Project Steps:
Gather Components: Ensure you have all the required components ready.
Wiring Connections:
Connect the GND (Ground) pin of the I2C LCD module to the GND pin of the Arduino Uno.
Connect the VCC (Voltage) pin of the I2C LCD module to the 5V output of the Arduino Uno.
Connect the SDA (Serial Data) pin of the I2C LCD module to the A4 (analog pin 4) on the Arduino Uno.
Connect the SCL (Serial Clock) pin of the I2C LCD module to the A5 (analog pin 5) on the Arduino Uno.
Install Required Libraries: If you haven’t already, install the “LiquidCrystal_I2C” library in the Arduino IDE. This library simplifies the interaction with I2C-based LCDs.
Write Arduino Code:
Open the Arduino IDE on your computer.
Write code to initialize the I2C LCD module, send text or data to be displayed, and control the display settings.
Include the “Wire” library for I2C communication and the “LiquidCrystal_I2C” library for controlling the I2C LCD.
Upload Code to Arduino:
Connect your Arduino Uno to your computer using a USB cable.
Select the correct board and port in the Arduino IDE.
Click the “Upload” button to upload your code to the Arduino.
Test the Project:
Open the Serial Monitor in the Arduino IDE to monitor the output of your code.
Verify that your I2C LCD module displays the text or data you specified in your code.
Customize and Experiment:
Modify your code to display different messages or data.
Experiment with the backlight, contrast, and other settings provided by your I2C LCD module.
Troubleshooting:
If the project doesn’t work as expected, double-check your wiring and the correctness of your code.
Ensure that the I2C address of your LCD module is correctly configured in your code.
This project will serve as a foundational example for interfacing and controlling I2C LCD modules with an Arduino Uno. Once you understand this basic setup, you can expand the project by displaying sensor data, creating user interfaces, or incorporating other I2C devices into your Arduino projects.
Project Code:
Download project code from below button. If you want to understand code explanations then please watch YouTube video.

Leave a Reply