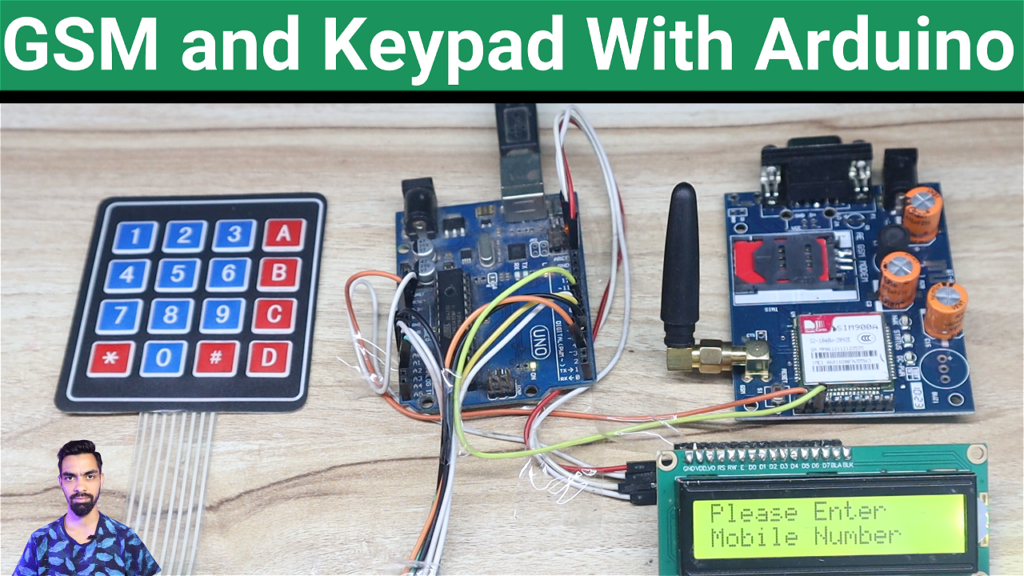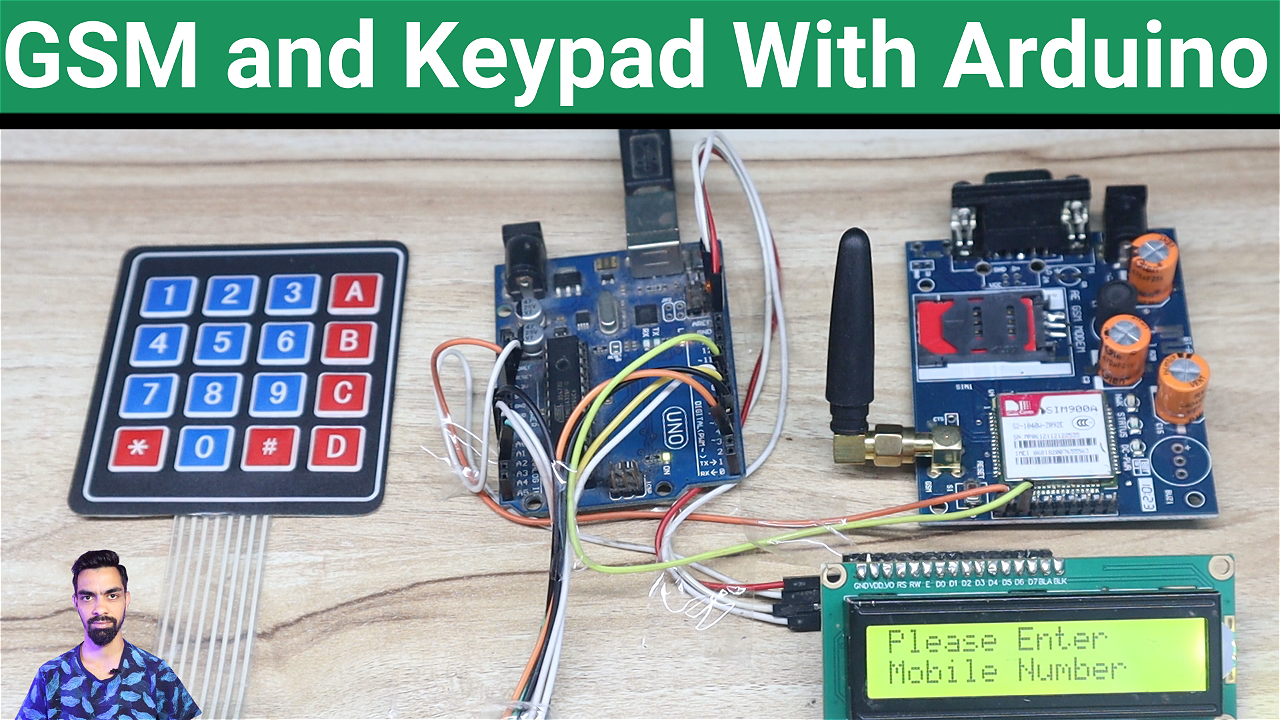
Objective: The project aims to create an interface using a 4×4 keypad and a GSM module with an Arduino to allow users to input a mobile number, display it on an LCD, and send a predefined message to the entered number.
Components Needed:
- Arduino Board (e.g., Arduino Uno)
- 4×4 Matrix Keypad
- GSM Module (e.g., SIM900A)
- LCD Display (16×2)
- Breadboard and Jumper Wires
- Power Supply
Functionality:
- User Input: The user will input a mobile number using the 4×4 keypad. Each keypress will be displayed on the LCD screen.
- Display on LCD: As the user types in the mobile number, the LCD will dynamically update to show the current input.
- Sending Message: Once the user finishes entering the number, The system will then send a predefined message (e.g., “Hello from Arduino!”) to the entered mobile number via the GSM module.
- Feedback: The system can provide feedback on the LCD, indicating whether the message was sent successfully or if there was an error (e.g., “Message Sent” or “Error Sending”).
Wiring and Connections:
- Connect the keypad to the appropriate digital pins on the Arduino.
- Connect the GSM module to the Arduino using serial communication (TX/RX pins).
- Connect the LCD to the Arduino, ensuring the data pins and control pins are properly configured.
Project Code:
- Download project code from below button.
- If you want to understand code explanations then please watch YouTube video.
YouTube Video:
- If you want to understand how to connect hardware with Raspberry Pi,
- And Program explanation for this project,
- And how to do this project by yourself then please watch our YouTube video.
Purchase Readymade Project:
- If you want to purchase a readymade project from Mytrained.com then contact us on whatsapp.
- We do not encourage any student to purchase a readymade project from us. Our mission is to give complete knowledge free of cost.
- So from our end we already provide code and detailed steps to create this project by yourself in our YouTube video.
- So if you want to save your money then watch our video and follow the steps that are mentioned in the video.
- Once you purchase a project then it will take at least 1 month to design your project.
- You have to pay the complete project cost while placing the purchase order.
- no refund no exchange policy


Leave a Reply