
Introduction
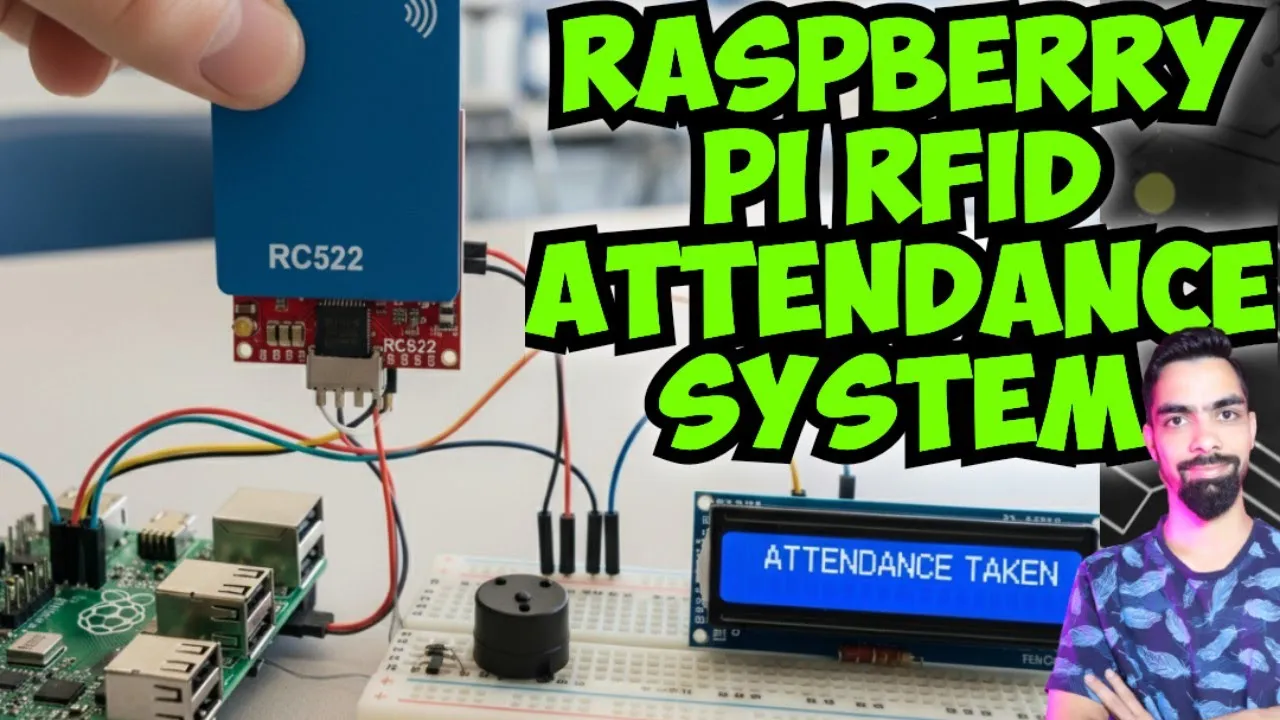
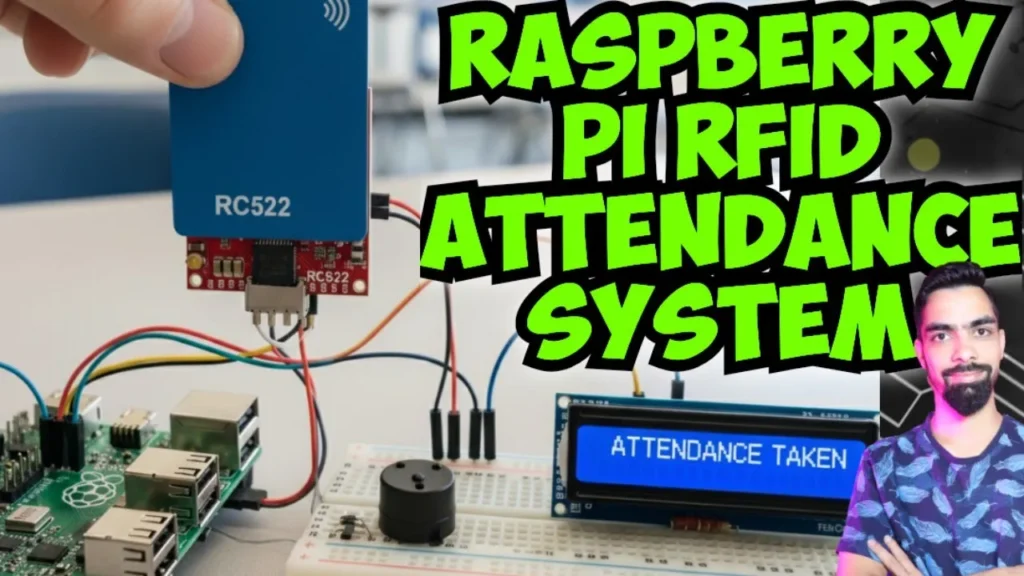
Managing attendance in schools, colleges, and offices is often time-consuming and prone to errors. To overcome this, we can build a Smart Attendance System using RFID (Radio Frequency Identification) and Raspberry Pi.
This project allows students or employees to mark their attendance by simply scanning their RFID card. The data is stored automatically in an Excel sheet along with the date and lecture/session details. An LCD display and buzzer provide real-time feedback, while an admin menu allows enrolling and deleting cards.
This project is a low-cost and reliable solution for automating attendance management.
Working of the Project
- System Initialization
- Raspberry Pi initializes RFID reader, I2C LCD, and buzzer.
- Database (
rfid_database.json) is loaded. If empty, system starts fresh. - Excel file (
attendance_excel.xls) is created if not already present.
- Menu Options
On startup, the system shows 3 options:- Start Attendance System
- Enroll New Cards
- Delete Existing Cards
- Enrollment Mode
- Admin scans a new RFID card.
- If card is already registered → LCD shows “Already Registered”.
- If card is new → system asks for a name, saves it in database, and confirms with buzzer & LCD.
- Enrollment continues for multiple cards until admin types
"exit".
- Delete Mode
- Admin enters card ID to delete.
- If found, card is removed from the database.
- If not found, LCD shows “Card Not Found”.
- Multiple deletions possible until
"exit".
- Attendance Mode
- System asks for lecture/session name.
- A new Excel sheet (with date and lecture name) is created.
- Students scan their RFID cards:
- If registered → LCD shows “Welcome [Name]”, attendance marked as “Present” in Excel.
- If already marked → LCD shows “Attendance Already Taken”.
- If not registered → LCD shows “Register First”.
Project Code:
- Download project code from below button.
- If you want to understand code explanations then please watch YouTube video.
Click Here To Download Project Code
YouTube Video :
- If you want to understand how to connect hardware with Arduino Uno,
- And Program explanation for this project,
- And how to do this project by yourself then please watch our YouTube video
Purchase Readymade Project:
- If you want to purchase a readymade project from Mytrained.com then contact us on whatsapp.
- We do not encourage any student to purchase a readymade project from us. Our mission is to give complete knowledge free of cost.
- So from our end we already provide code and detailed steps to create this project by yourself in our YouTube video.
- So if you want to save your money then watch our video and follow the steps that are mentioned in the video.
- Once you purchase a project then it will take at least 1 month to design your project.
- You have to pay the complete project cost while placing the purchase order.
- no refund no exchange policy

Leave a Reply