
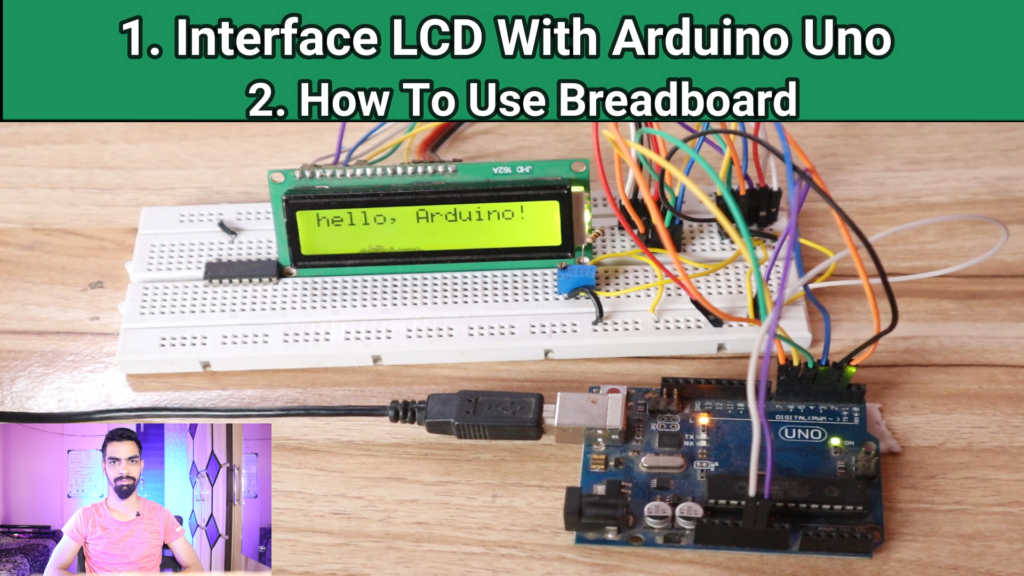
Description :
- This project aims to provide a concise guide on connecting an LCD 16×2 display to a breadboard for easy prototyping and experimentation. The LCD 16×2 module is a popular choice for displaying information in various projects. By following the steps outlined in this guide, users will be able to quickly set up and connect the LCD 16×2 module to a breadboard. The project covers the necessary components and their placement on the breadboard, including the LCD module, potentiometer for contrast adjustment, and the required connections to the Raspberry Pi or Arduino. By following the provided wiring diagram and pin configurations, users can establish a connection between the LCD 16×2 module and the microcontroller or development board. This project simplifies the process of connecting the LCD 16×2 module to a breadboard, enabling users to utilize the display for their projects without extensive technical knowledge or complex wiring.
You can purchase components require for this project from below link:
- Arduino Uno: Click Me
- Arduino Cable: Click Me
- Connecting Wires: Click Me
- Ready made LCD Module: Click Me
- If you want to design LCD By Yourself then purchase below components
- LCD 16×2 : Click Me
- Bergstrip: Click Me
- Zero PCB : Click Me
- Resistor: Click Me
- Breadboard: Click Me
Project Code:
- // include the library code:
- include
- // initialize the library by associating any needed LCD interface pin
- // with the arduino pin number it is connected to
- const int rs = 12, en = 11, d4 = 5, d5 = 4, d6 = 3, d7 = 2;
- LiquidCrystal lcd(rs, en, d4, d5, d6, d7);
- void setup() {
- // set up the LCD’s number of columns and rows:
- lcd.begin(16, 2);
- // Print a message to the LCD.
- lcd.print(“hello, world!”);
- }
- void loop() {
- // set the cursor to column 0, line 1
- // (note: line 1 is the second row, since counting begins with 0):
- lcd.setCursor(0, 1);
- // print the number of seconds since reset:
- lcd.print(millis() / 1000);
- }
YouTube Video :
- If you want to understand how to connect hardware with Arduino Uno,
- And Program explanation for this project,
- And how to do this project by yourself then please watch our YouTube video.
I appreciate how this blog promotes self-growth and personal development It’s important to continuously strive to become the best version…
With havin so much content do you ever run into any issues of plagorism or copyright infringement? My site has…
That is the appropriate weblog for anybody who wants to seek out out about this topic. You understand a lot…
I got what you mean , appreciate it for posting.
I genuinely treasure your work, Great post.
Leave a Reply